
What Makes an Attached Pergola Different
A freestanding pergola is its own structure. It stands on its own posts, carries its own roof load, and doesn’t really care what the house next to it looks like. An attached pergola is a different animal entirely, because the moment you connect a new roof structure to an existing home, you’ve created a junction point that has to perform two jobs at once — it has to hold the pergola up, and it has to keep water out of your house.
That connection point is where the project either succeeds or causes problems for years to come. It needs to be engineered correctly, detailed correctly, and built to Australian standards, because this isn’t a decorative add-on sitting separate from your home — it’s now structurally and physically part of it.
Two Main Attachment Methods
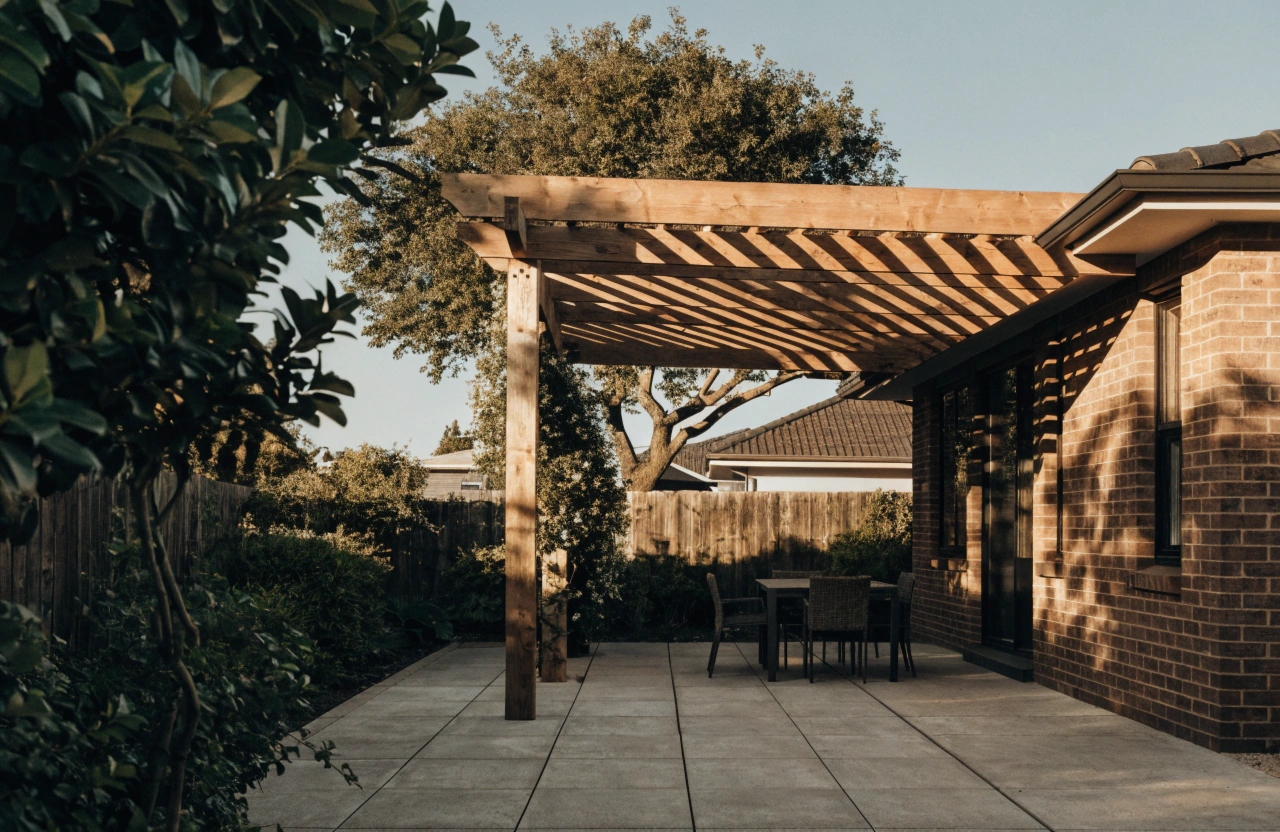
Ledger board connection — A ledger board is fixed directly to the home’s fascia or wall framing, and the pergola rafters tie back into that ledger. This is a common method for homes where the fascia or wall framing can carry the additional load, and it works well across a lot of Adelaide’s established housing stock.
Roof-to-roof connection — Here the pergola roofline ties directly into the existing roof structure, blending the two rooflines together rather than sitting below the fascia line. This method is selected based on your home’s construction, roof pitch, and the pergola design you’re after, and it takes more building knowledge to get the flashing and structural tie-in right.

Getting the Design Right Against Your Existing Home
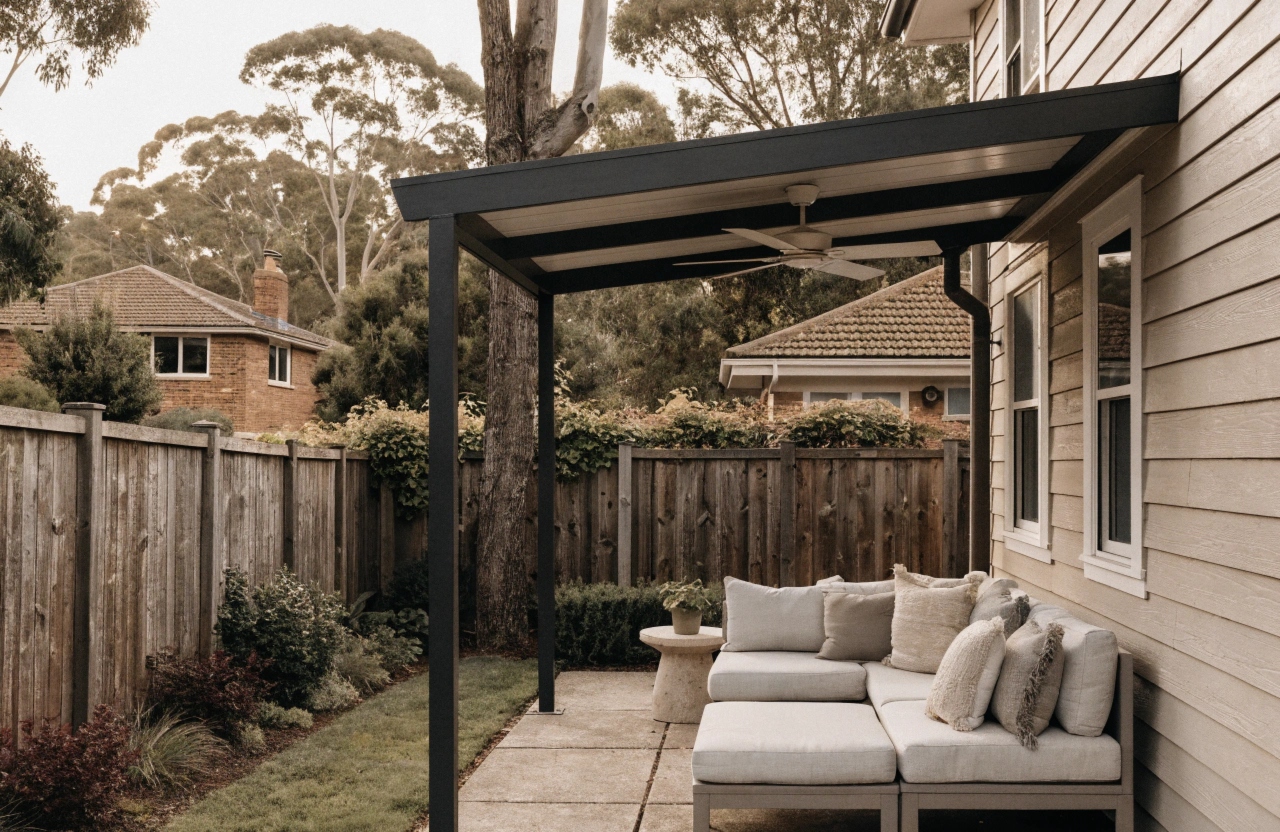
This is the part that separates an attached pergola people are proud of from one that looks like it was bolted on as an afterthought. The roofline pitch, the height, and the overall proportions all have to be worked out in relation to your existing house — not designed in isolation and hoped to fit.
Get the pitch wrong and the roofline looks disconnected from the house, sometimes even fighting against it visually. Get the height wrong and the structure either swallows your eaves or sits so low it feels cramped underneath. Getting these relationships right takes an eye for design as much as it takes technical skill, and it’s the difference between a pergola that looks intentional and one that looks like it doesn’t belong.
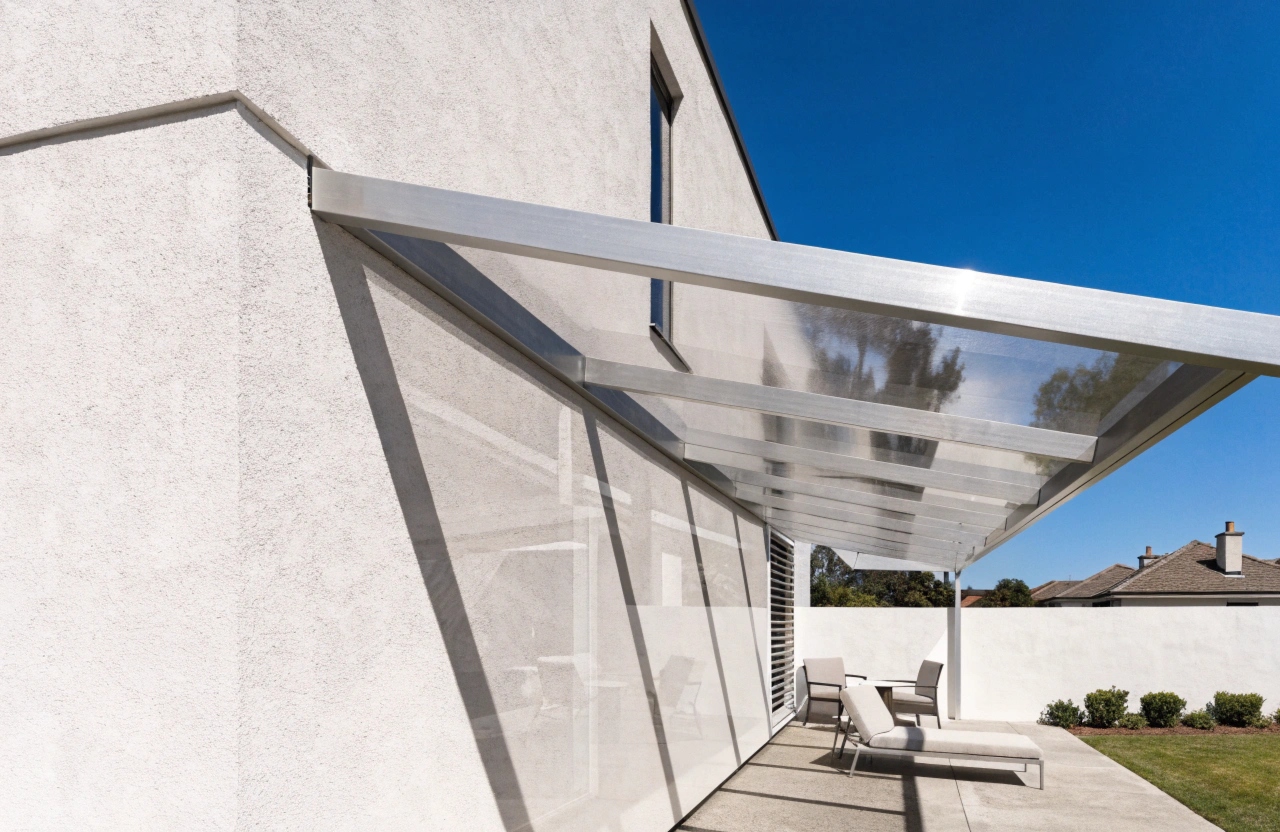
Material selection matters here too, because timber, aluminium, and steel each have different connection and integration requirements at the home junction point. The material you choose should work with your home’s existing exterior finish and architectural character, not against it — a sleek aluminium frame might suit a modern build beautifully and feel completely wrong on a 1980s brick veneer with timber detailing.
Post placement and beam sizing are the other half of the equation. Posts are positioned based on structural requirements and how open or enclosed you want the space to feel, while beams have to be sized correctly to span the distance between your home’s connection point and the outer posts without sagging or flexing over time.
Roofing Options for Attached Pergolas
The roofing choice for attached pergolas carries more weight than it does on a freestanding structure, simply because of how close the roof sits to your home. Get the roofing wrong here and you’re not just dealing with a structure that doesn’t perform — you’re dealing with water finding its way into your house.
Open rafter designs let filtered light through and keep that open, connected-to-the-sky feeling, suited to homeowners who want shade without losing the outdoor atmosphere entirely.
Shade cloth offers UV protection while still allowing airflow underneath, a practical option for those wanting relief from Adelaide’s harsh summer sun without fully enclosing the space.
Polycarbonate roofing provides genuine weather protection while still letting natural light through, making it a popular middle-ground choice for Adelaide’s mix of sun and the occasional heavy downpour.
Insulated roof panels deliver full all-weather performance and thermal comfort, turning the space into something usable year-round rather than just on the good days.
Whatever roofing option you land on, the flashing detail at the wall connection is non-negotiable. A roof that sheds water incorrectly, or isn’t flashed properly where it meets your home, won’t just affect the pergola — it can let water into your walls, your ceiling cavity, or your fascia, and that’s a far more expensive problem than the pergola itself. Professional installation at this junction point is where the real value of an experienced builder shows.
Council and Planning Considerations
Attached pergolas in Adelaide fall under South Australian planning regulations, and depending on the size, height, and setbacks of your project, development approval may be required before work begins. This catches a lot of homeowners off guard, particularly when a pergola is attached directly to the home rather than freestanding, since that connection can change how the structure is assessed.
We work across all Adelaide suburbs and bring experience with local council requirements as part of every project. Where approval is needed, we manage that process for you, rather than leaving you to work out planning rules and lodge applications on your own. You shouldn’t need to become an expert in South Australian building regulations just to get a pergola attached to your house — that’s our job, not yours.
Common Mistakes We Avoid on Attached Pergola Builds
We’ve seen what happens when an attached pergola is rushed, under-engineered, or treated like a simpler job than it actually is, and most of the problems trace back to the same handful of mistakes.
Skipping proper flashing at the wall junction is the big one. It might save an afternoon on site, but it’s the single most common cause of water finding its way into a home’s wall cavity or ceiling months or years down the track.
Sizing beams for the look rather than the span is another. A beam that looks proportionate but isn’t engineered for the actual distance between your home and the outer posts will sag over time, and that sag is expensive to fix once the structure’s complete.
Ignoring the existing roof pitch causes the visual disconnect we talked about earlier — a pergola roofline that fights against your home’s roof instead of working with it.
Treating council requirements as optional is the last one, and it’s the costliest mistake of all if it goes wrong. Building without checking whether your project needs approval can mean a forced removal or retrofit down the line.
We work through each of these at the design stage, not after something’s gone wrong on site.
Frequently Asked Questions
Does an attached pergola need council approval in Adelaide?
It depends on the size, height, and setbacks of your specific project. Some attached pergolas fall within exempt development categories under South Australian planning rules, while others require formal approval. We assess this as part of your design consultation and manage the council process where it’s needed.
What's the difference between a ledger board and roof-to-roof connection?
A ledger board is fixed to your home’s fascia or wall framing, with the pergola rafters tying back into it. A roof-to-roof connection ties the pergola roofline directly into your existing roof structure, blending the two together. The right method depends on your home’s construction and the design you’re after.
Will an attached pergola cause leaks in my home?
Not if it’s built correctly. Water ingress happens when the flashing at the wall connection point is done poorly or the roofing doesn’t shed water properly. Correct flashing detail at this junction is one of the most important parts of the build, and it’s where experience makes the biggest difference.
Can I choose any roofing material for an attached pergola?
You can choose from open rafter, shade cloth, polycarbonate, or insulated panels, but the right option depends on how you want to use the space and how much weather protection you need. We’ll talk through what suits your home and your lifestyle during your consultation.
Get Your Free Attached Pergola Design Consultation
If you’re picturing your Adelaide home with a pergola that looks like it’s always belonged there, the next step is a conversation, not a guess. Every attached pergola we build starts the same way — we come out, we look at your home’s existing roofline, fascia, and construction, and we talk through what you’re actually trying to achieve with the space. No two homes connect the same way, so no two quotes look the same either.
During your free design consultation, we’ll walk you through the attachment method that suits your home, the material options that complement your existing exterior, and the roofing choice that matches how you actually want to use the space — whether that’s filtered light on a Sunday morning or full weather protection for entertaining year-round. If your project needs council approval, we’ll explain exactly what that involves for your suburb before any work begins, so there are no surprises halfway through.
We work across all Adelaide suburbs, from the eastern suburbs and the Hills fringe through to the southern corridor and the newer estates pushing north, and we bring the same attention to structural connection and weatherproofing detail to every job, regardless of size or budget.
Get in touch today for your free design consultation and quote, and let’s start working out how an attached pergola could turn your backyard into the part of the house your family actually wants to be in.